Letterpress. Hot foil stamping. Embossing. Digital printing. Die cutting. Finishing. Each one changes the piece in a different way—and they get even more interesting when you start combining them.
Know your specs? Build your order. Still deciding? We’ll help you sort it out.
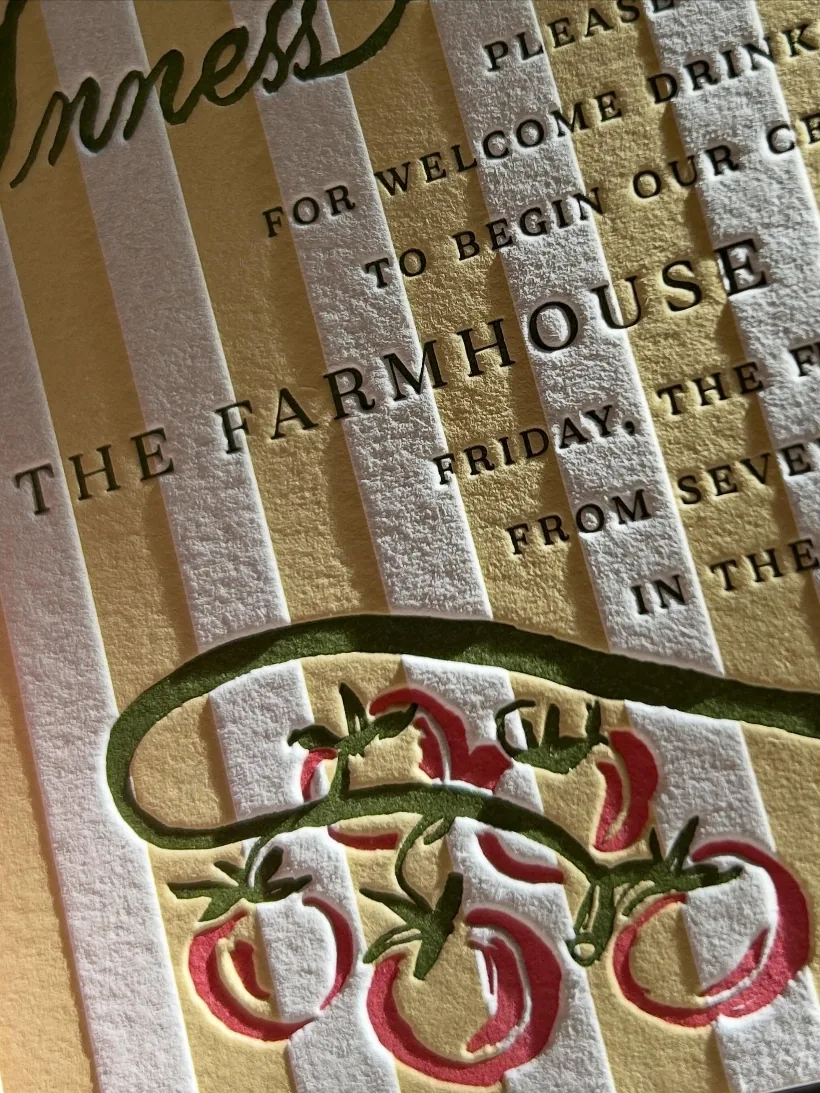
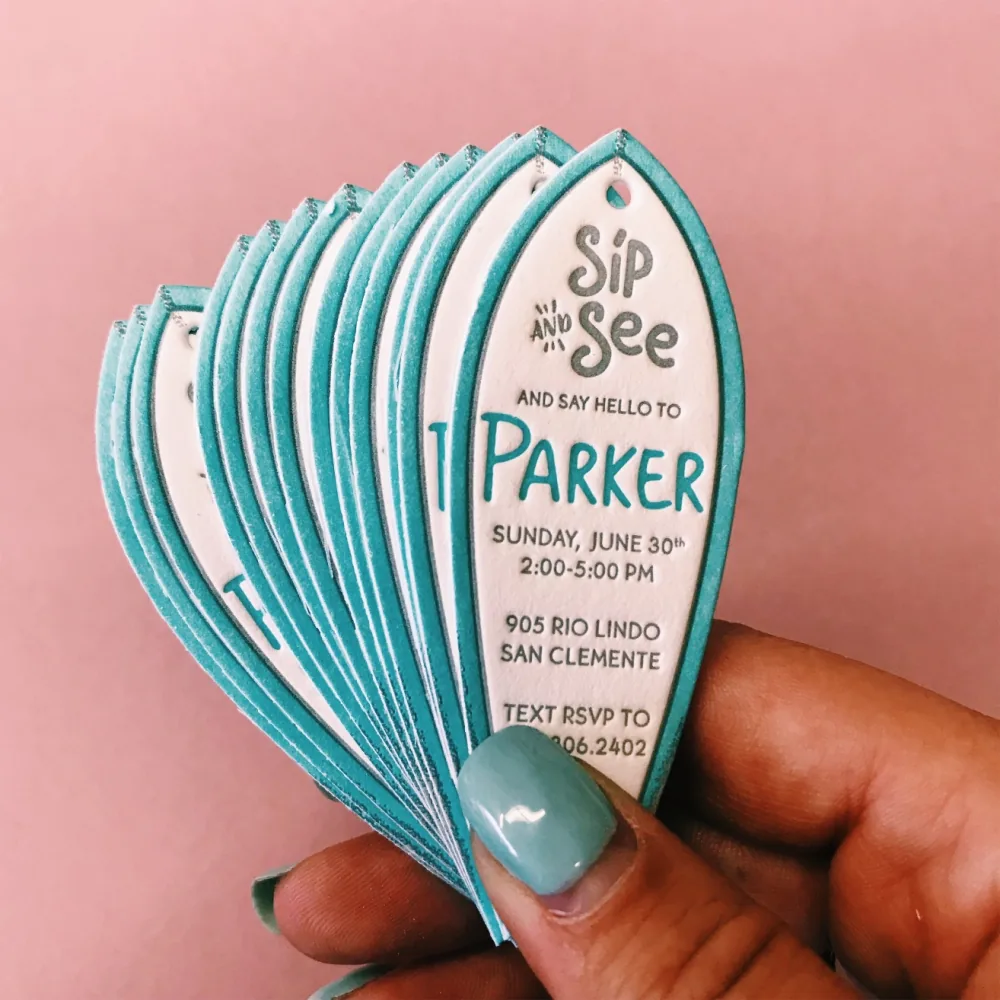
Letterpress pushes a raised plate into the sheet, leaving ink and impression behind. The right paper gives that impression somewhere to go, turning the surface of the piece into part of the design.
Go subtle or press it deep. Use one ink or several. However you approach it, letterpress is at its best when you want the print to be something you can actually feel.
Custom-mixed to match any Pantone Solid Uncoated color
Paper
House stocks: Crane’s Lettra, Reich Savoy, and Mohawk Superfine Eggshell
Artwork
Vector artwork with outlined type; lines and type at least 0.3 pt
Good to know
Handmade paper is possible, but requires special consideration, and you supply the paper
02
Hot foil stamping
Catch the Light.
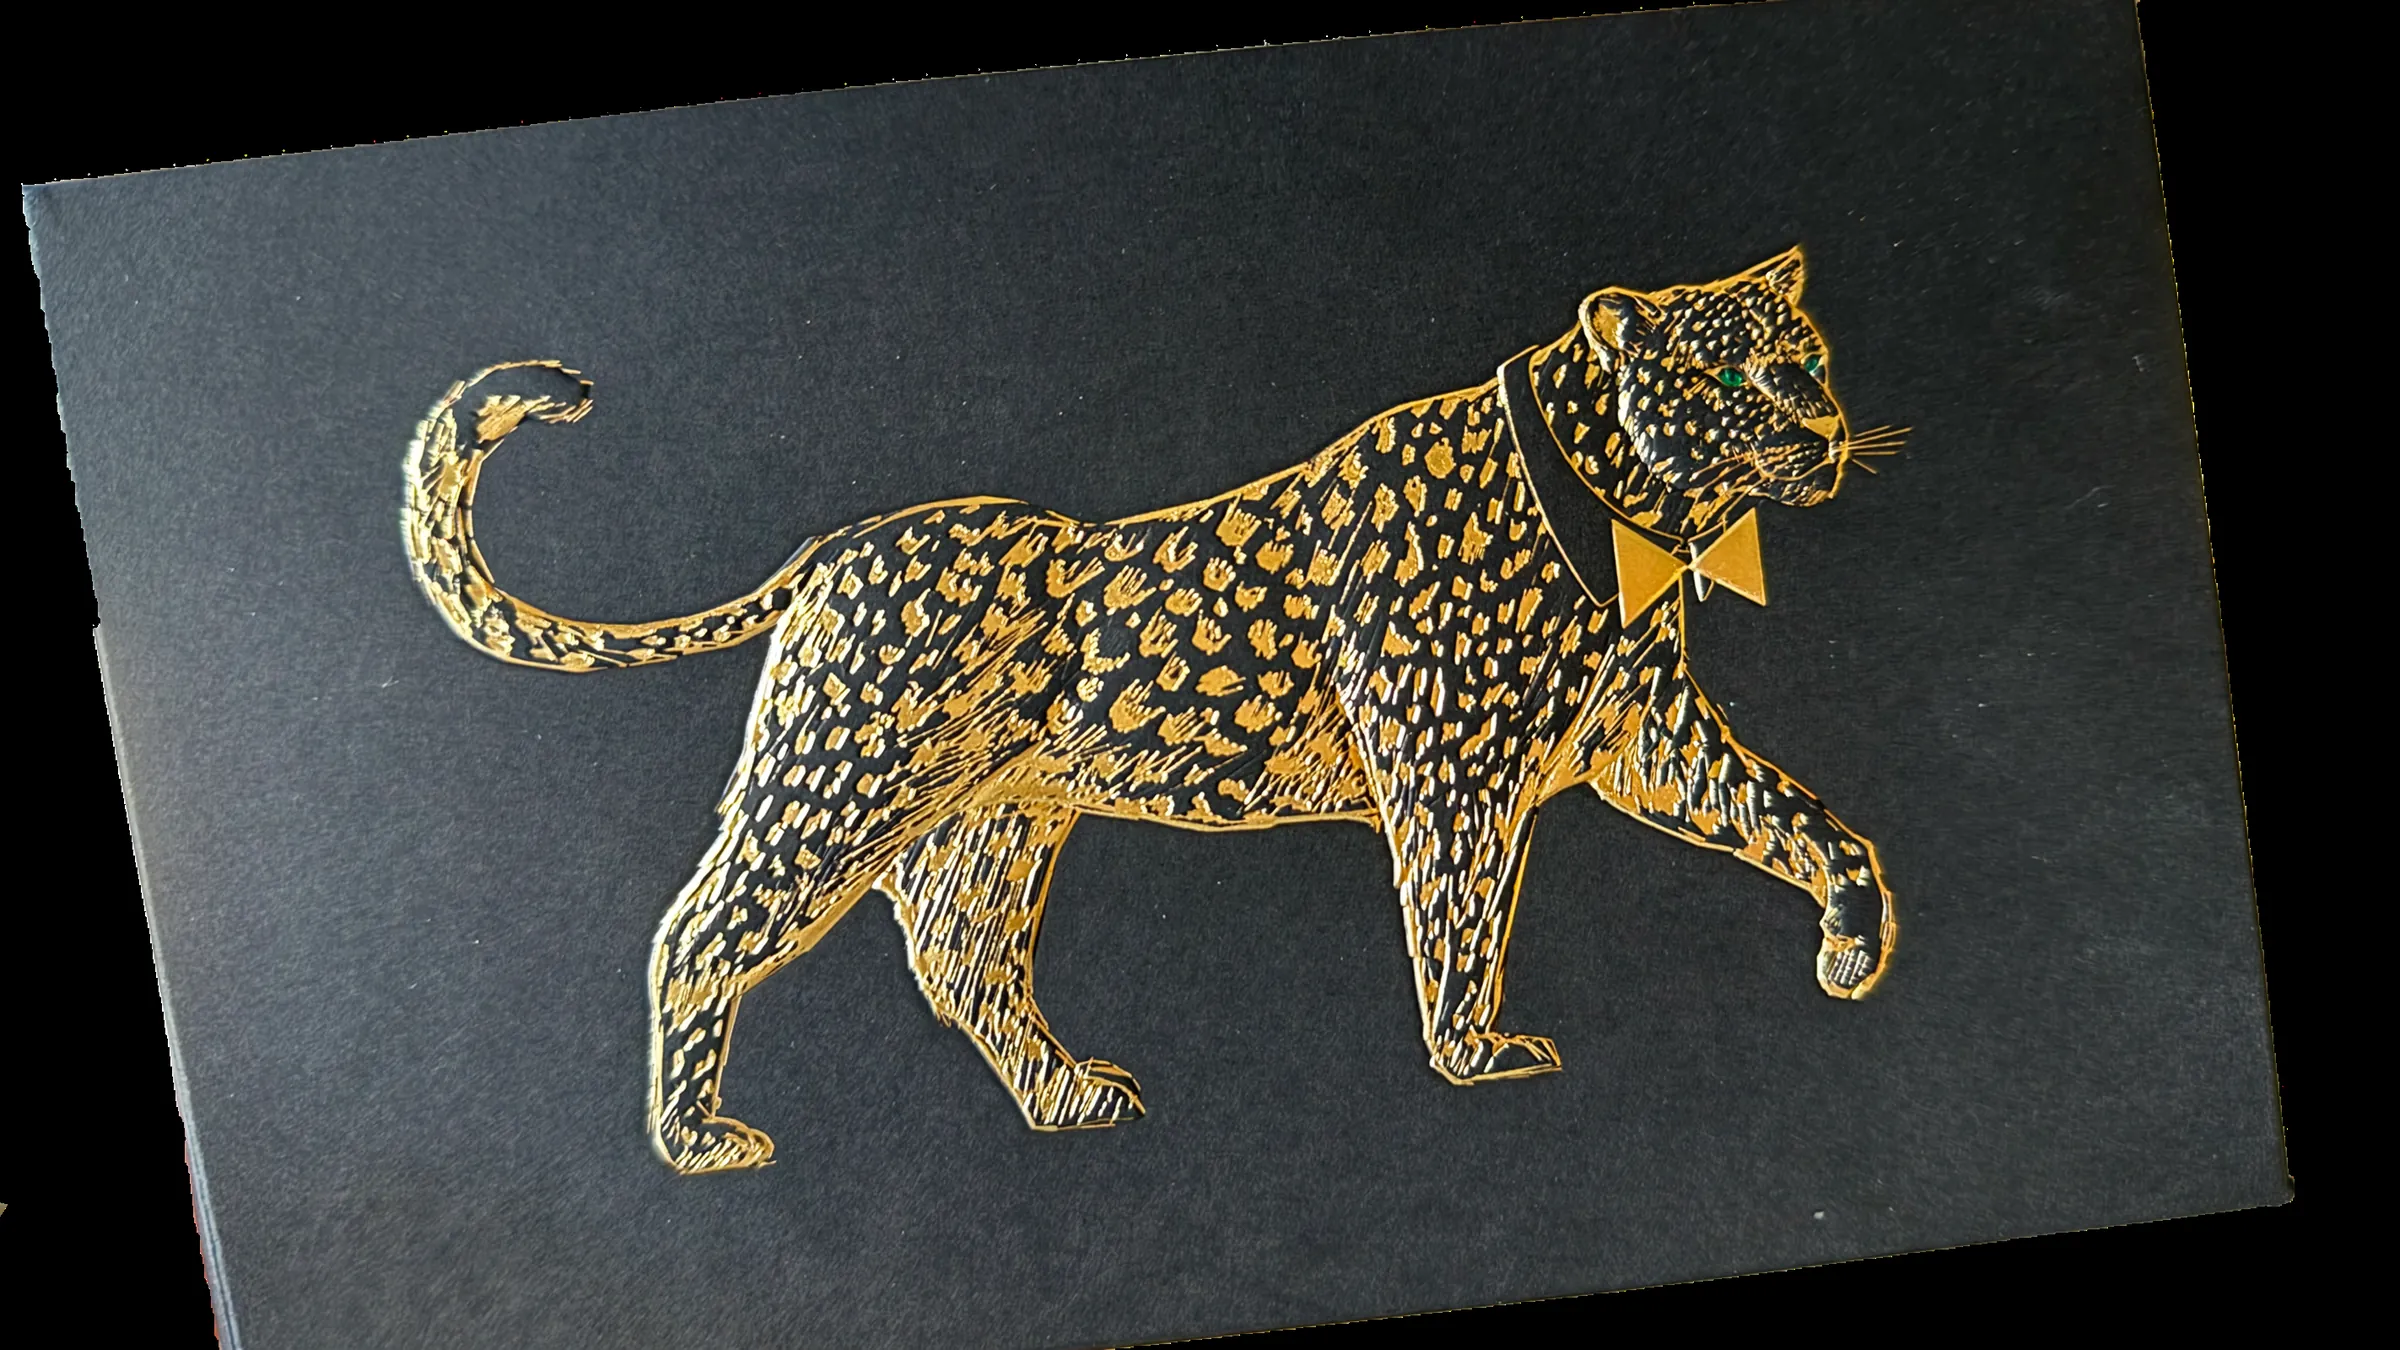
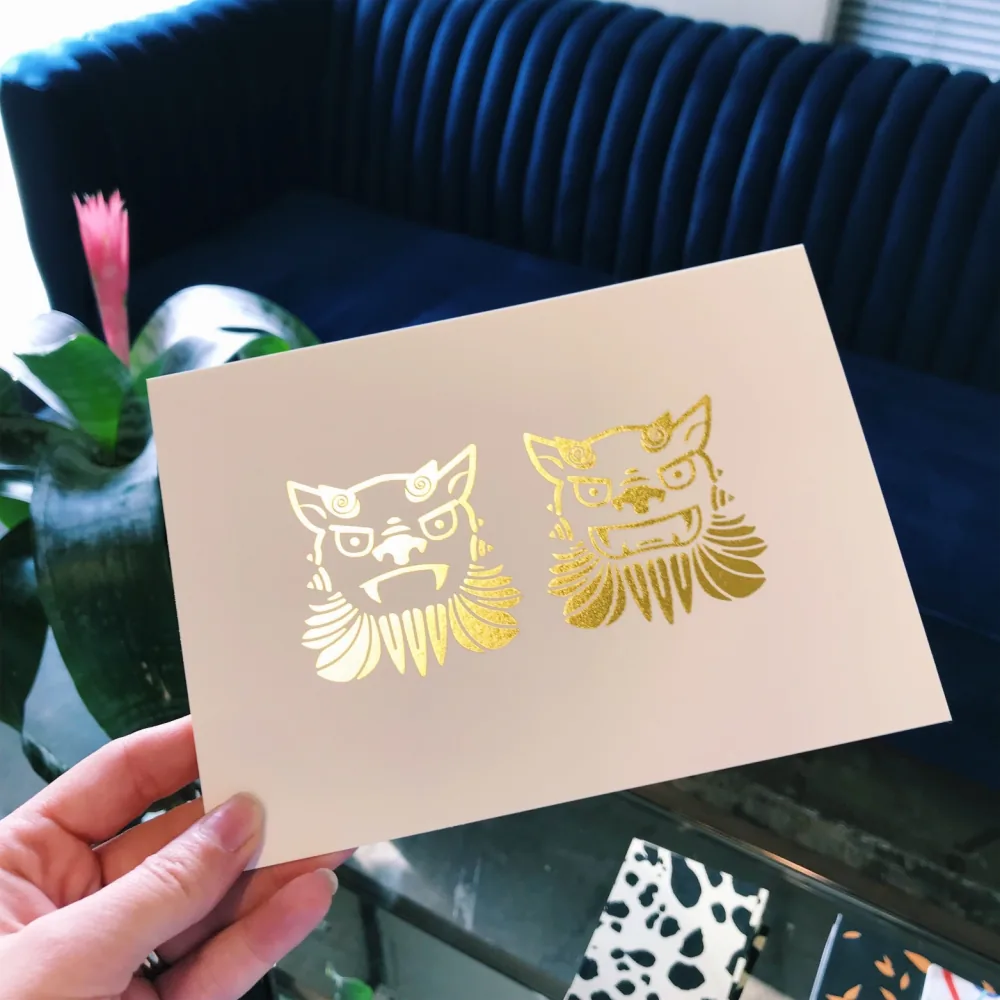
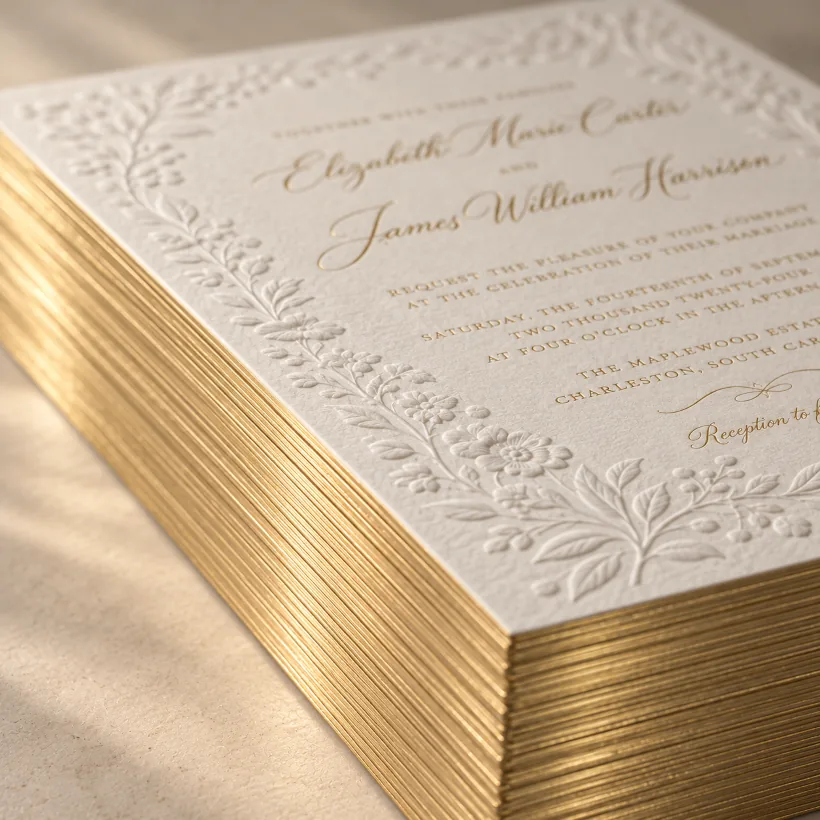
Hot foil stamping uses heat and pressure to transfer foil onto the surface of the material. Because it’s actual foil, not ink, metallics reflect light like metal, pigment foils stay solid on dark stocks, and holographic and clear finishes do things ink can’t.
Use it as a quiet accent or let it take over the design. Metallic, pigment, holographic, clear—foil gives you a lot more to work with than shine alone.
Gold, rose gold, silver, champagne, copper, and white, plus pigment, holographic, and clear
Materials
Paper and specialty materials suited to foil
Artwork
Vector artwork with outlined type; lines and type at least 0.3 pt
Good to know
The same hot-stamping process can create blind impressions on velvet
03
Embossing
Give the paper some depth.
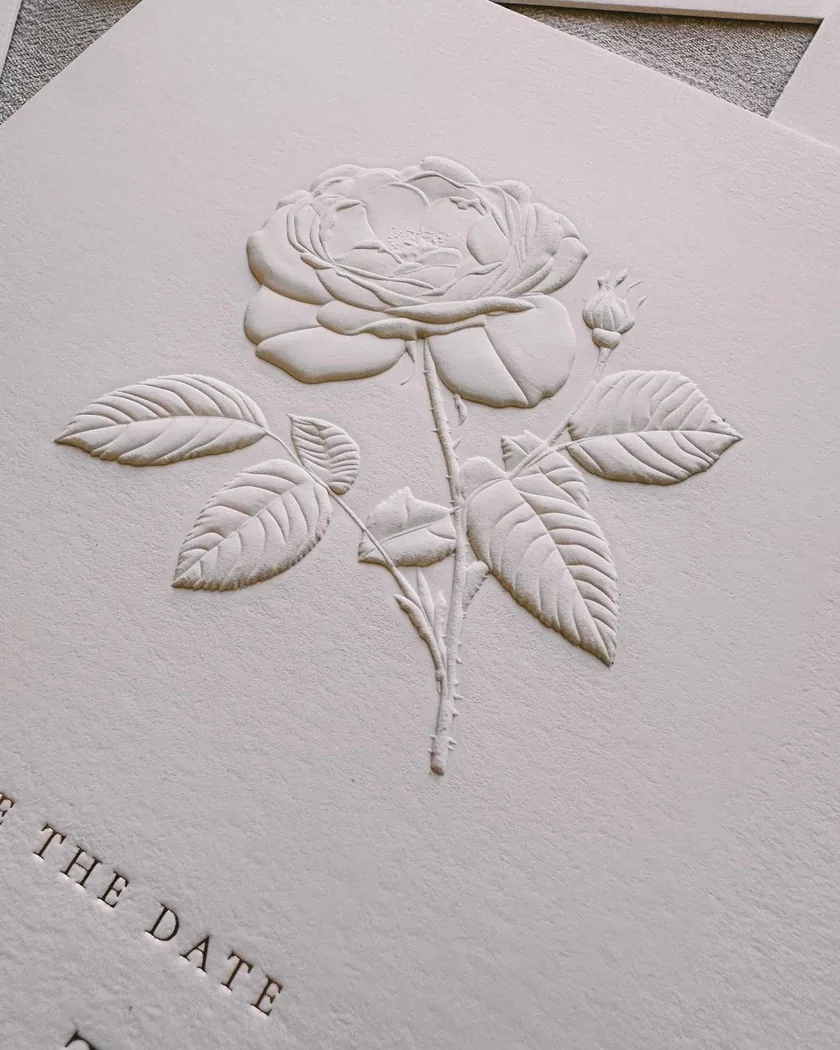
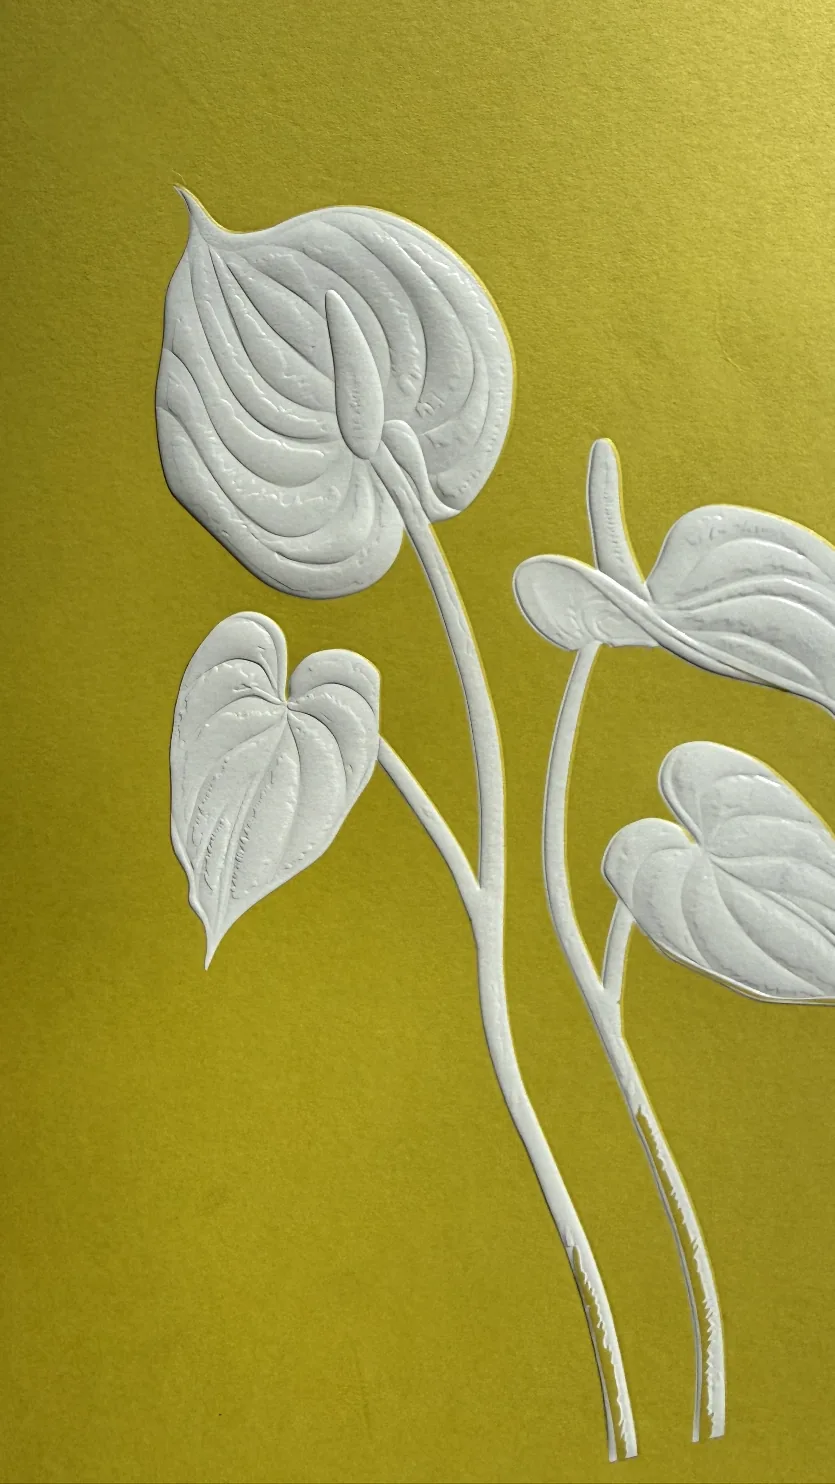
Embossing raises the surface of the paper, creating dimension through shape, light, and shadow. No ink is required—the paper itself can do all the work.
Keep it blind and understated, build more dimension with a sculpted or rounded emboss, or combine it with foil, letterpress, or digital printing when the design calls for more.
Single-level, sculpted, rounded, and foil embossing
Paper
Thickness, softness, and material all affect how the emboss forms
Artwork
Vector artwork; lines and type at least 1.5 pt. Lining it up with print or foil takes extra care.
Good to know
Cracking and show-through on the back can affect the finished piece
04
Digital printing
Bring on the color.
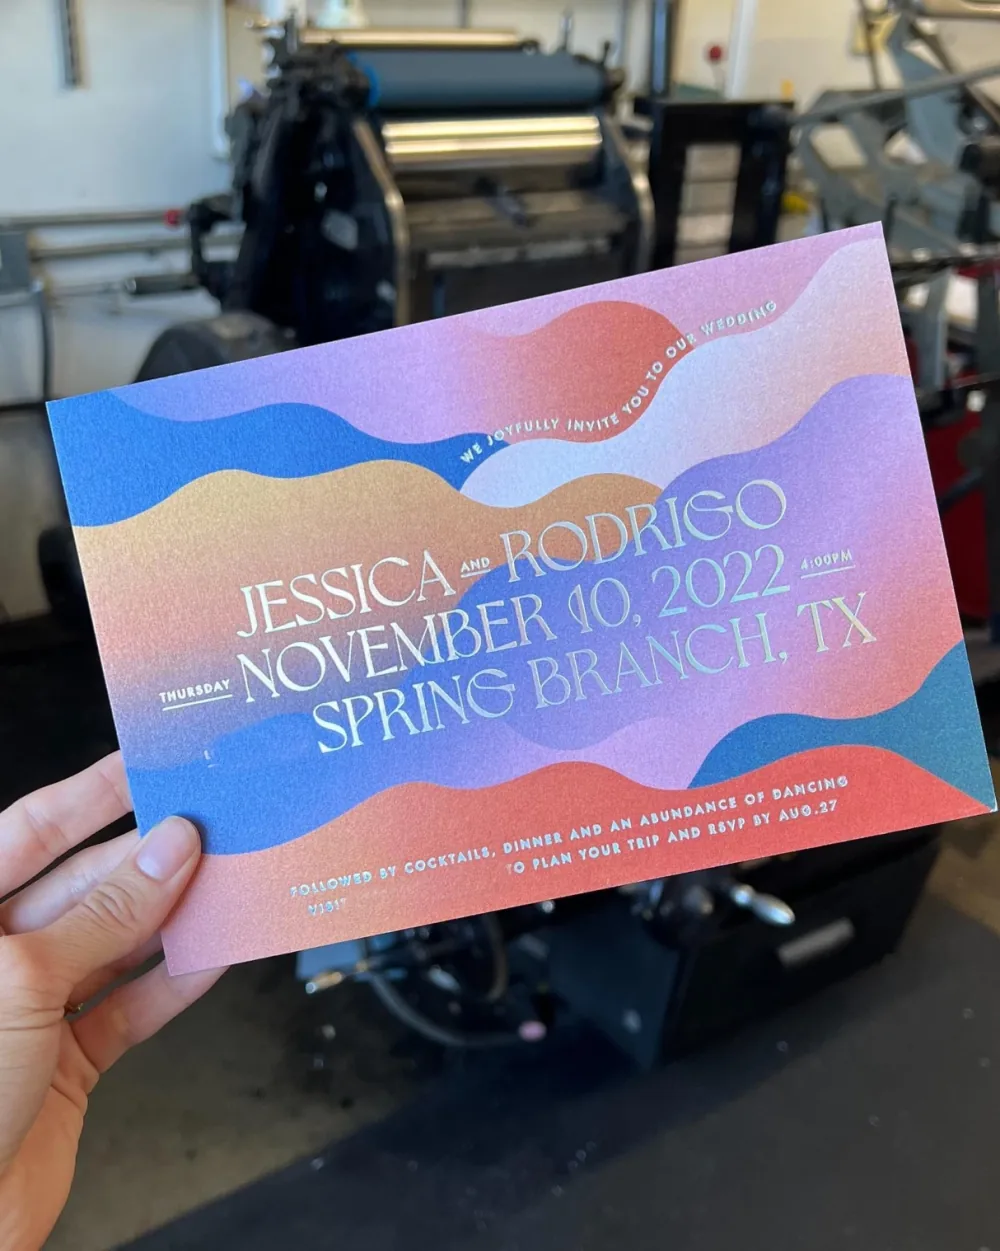
Digital printing is built for full-color artwork, photography, gradients, and fine detail. CMYK handles the everyday work, neon pink adds a brightness CMYK can’t reach, and metallic gold and silver add a metallic sheen, with no plate or die to make.
Digital white opens up darker stocks, too. Print it on its own, or use white underneath CMYK to help lighter colors reproduce more clearly against the paper. The final result still depends on the color and characteristics of the stock.
Variable data is available, with options depending on the print setup and piece
05
Die cutting
Shape the piece.
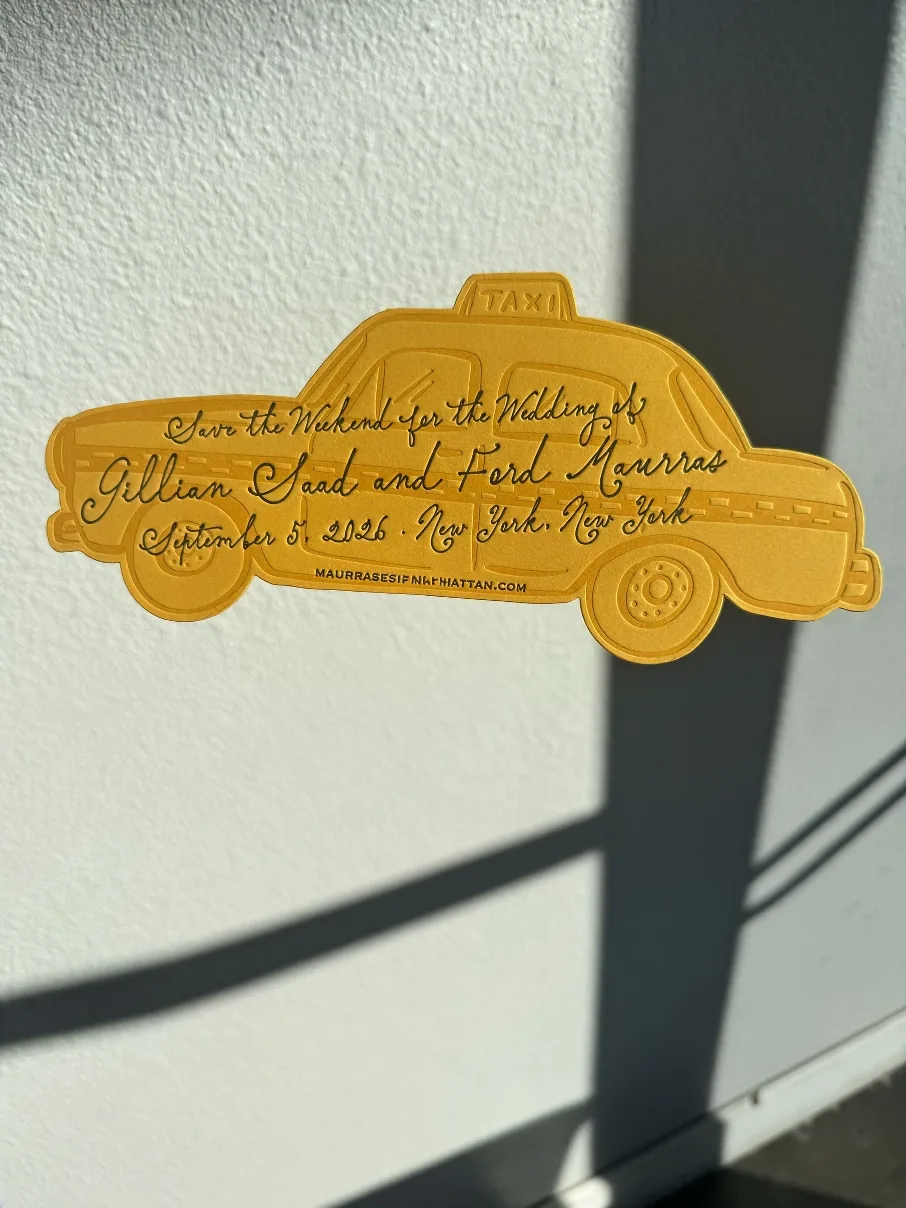
Die cutting changes the shape of the finished piece, using one of our house-stocked dies or a custom die made for the job. The cut can be purely visual, or it can become part of how the piece works.
Build scoring into the same die and the cut can also decide how the piece folds and opens.
House-stocked dies, or a custom die made for your piece
Function
Cutting and scoring can be combined in the same die
Artwork
Vector dieline using strokes, not fills, with cut and score lines clearly identified
Good to know
Tight curves and very small details may need adjustment to meet die-making tolerances
06
Finishing services
Printed isn’t always finished.
Finishing is what happens after the printing itself. Edge painting and edge foiling add detail to the sides of the sheet, while scoring, hole drilling, duplexing, mounting, and assembly can change how the piece is built and how it works.
A painted edge can echo an ink color. Duplexing builds a thicker sheet with a different color on each side. Finishing works best when it’s planned as part of the job—not tacked on at the end.
Envelope liners, pockets, custom envelopes, and specialty assembly
Good to know
Edge foiling isn’t available on die-cut pieces. Edge painting on die-cuts: ask us.
One sheet. Several processes.
A finished piece can use several processes, each doing a different job. Digital handles color. Foil adds surface and reflection. Letterpress adds impression. Embossing adds dimension. Die cutting changes shape and function. Finishing pulls the construction together.
The key is planning the combination from the start. Paper, artwork, registration, and production order all affect what works together.
Letterpress + Die cutting
Flat print + Hot foil stamping
Digital white + Embossing
From order to shipped.
Review
We review the specs, artwork, paper, quantity, and processes and make sure everything is ready to move forward.
Proof
Approve the estimate and send final print-ready artwork. Then sign the proofing agreement and pay the invoice.
Press
Once the job is production-ready, it moves onto the schedule for printing and finishing.
Ship
We pack it up, send it out, and provide tracking.
If we’re ready to go today…
Your production window starts once the estimate is approved, final print-ready artwork is in, the proofing agreement is signed, the invoice is paid (or issued, on Net 30 terms), and we have everything required to begin production.
Standard production
12-15 business days
Digital printing only
7-10 business days
These are estimated ship dates, not delivery dates. Shipping time is extra. Digital Printing Only means no other printing or finishing. Special materials, complex finishing, client-supplied stock, changes after approval, and other production variables can move them.
Need it sooner?
Depending on the job, rush orders can ship in as few as 3 business days. (Yes, the ink will be dry.) Tell us your deadline and what you’re making, and we’ll figure out what it takes to hit it.